
Vizros Frame
This tutorial is written for Paint Shop Pro, version 9.
download demo here: http://www.jasc.com
You are going to need three plugin filters:
- Vizros/Curl
- Xero/Caravaggio
- Fantastic Machines/Paint Engine
I will not provide any links for the plugins since the links are changing so fast and eventually you will only find "this page can not be found".If you look at Google I am sure you will find what you need.
You will need this gold pattern :
 download here.
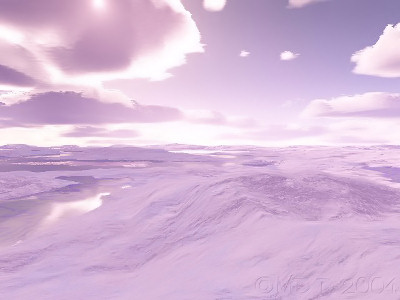
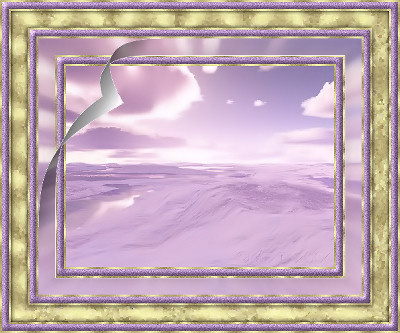
You will also need an image, if you want to you can use mine:
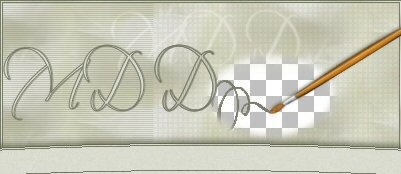
This is what we are going to create:
1. Set the gold pattern as your background, and the foreground to a dark color from your image.
2.Duplicate your image (Shift + D). Minimize one of the images and work with the other one.
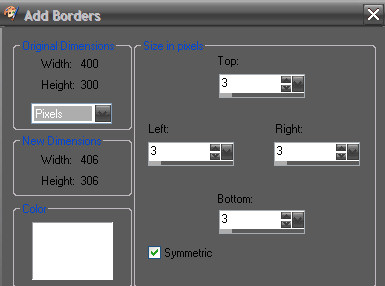
3. Image/Add Borders:
4. Use your magic Wand and select the white border, floodfill it with the gold pattern. Selections/Select None.
5. Image/Add borders -change the numbers to 10.
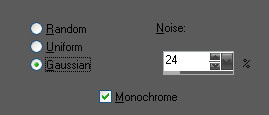
6. Use your magic wand, floodfill with the dark color. Image/Adjust/Add Remove noise/Add noise:
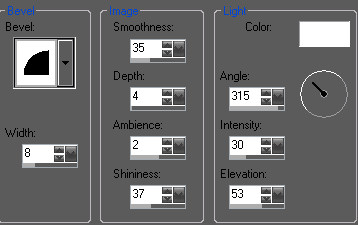
Do not deselect! Effects/3D Effects/Inner Bevel:
7. Selections/Select None.
8. Image/Add borders - numbers set at 3 pixels. Use your magic wand and floodfill with the gold pattern. Selections/Select None.
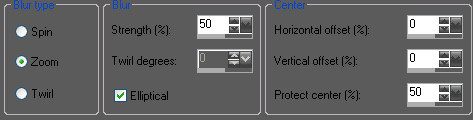
9. Image/Add borders - settings at 25 pixels. Select with your magic wand. Go back to the minimized image and choose Edit/Copy. Now minimize the image again and go back to the image we worked on earlier. Right click and choose Paste/Paste into Selection. Do not deselect! Choose Adjust/Blur/Radial blur:
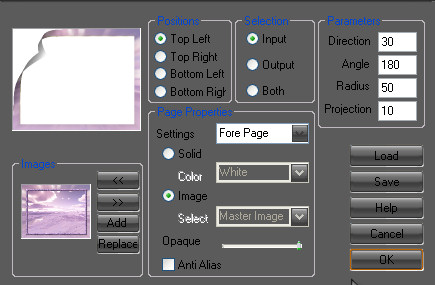
10. With the image still selected, choose: Selections/Promote Selection to Layer and then Effects/Plugins/Vizros 4/Curl:
Selections/Select None
Now choose Edit/Copy
Edit/Paste/Paste As new Image
11. On the new image; use your magic wand to select all white parts, then choose Edit/Clear and Selections/Select None. Again choose Edit/Copy.
12. Go back to our working image and choose Edit/Undo Select None, then Edit/Undo curl. After that choose Selections/Select None.
13. Edit/Paste/Paste as new Layer.
14. Repeat step 3 to 8.
15. Image/Add borders - settings at 25 pixels. Use your magic wand to select the white border. Floodfill with the gold pattern. Do not deselect!
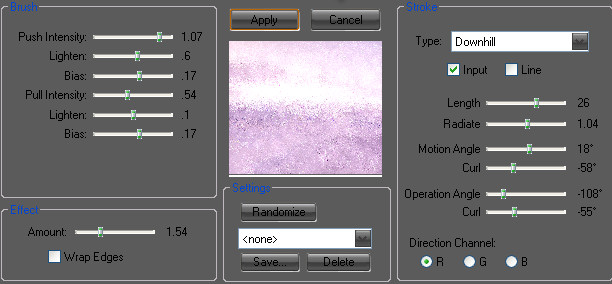
16. Effects/Plugins/Fantastic Machines/Paint engine:
17. Effects/Plugins/Xero/Caravaggio:
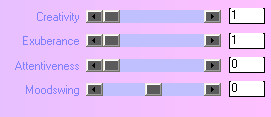
Repeat Caravaggio one more time.
18. Selections/Float sedan Effects/3D effects/Cut Out:
Selections/Select None
19. Repeat step 3 to 8.
Finished!
Thank you for doing my tutorial.
If you have any questions or comments, please send me an email.